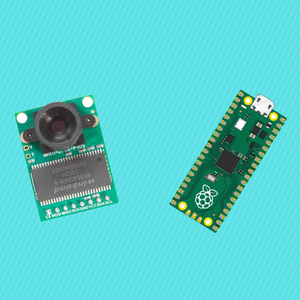
Connect BME280 to Seeed Studio Xiao RP2040

The Xiao Seeed Studio RP2040 is a powerful microcontroller board based on the RP2040 chip, which features a dual-core Arm Cortex-M0+ processor and a wealth of peripherals. The board is highly versatile and can be used for a wide range of applications, including sensor monitoring and data logging. One such sensor is the BME280, a popular environmental sensor that measures temperature, humidity, and barometric pressure.

In this tutorial, we will guide you through the process of connecting the BME280 sensor to the Xiao Seeed Studio RP2040 and reading its data using the I2C protocol. By the end of this tutorial, you will have a basic understanding of how to interface with sensors using the RP2040 microcontroller and how to use the BME280 sensor to collect environmental data. So, let's get started!

Step 1-) Gather Components

    Step 2-) Make a Connection
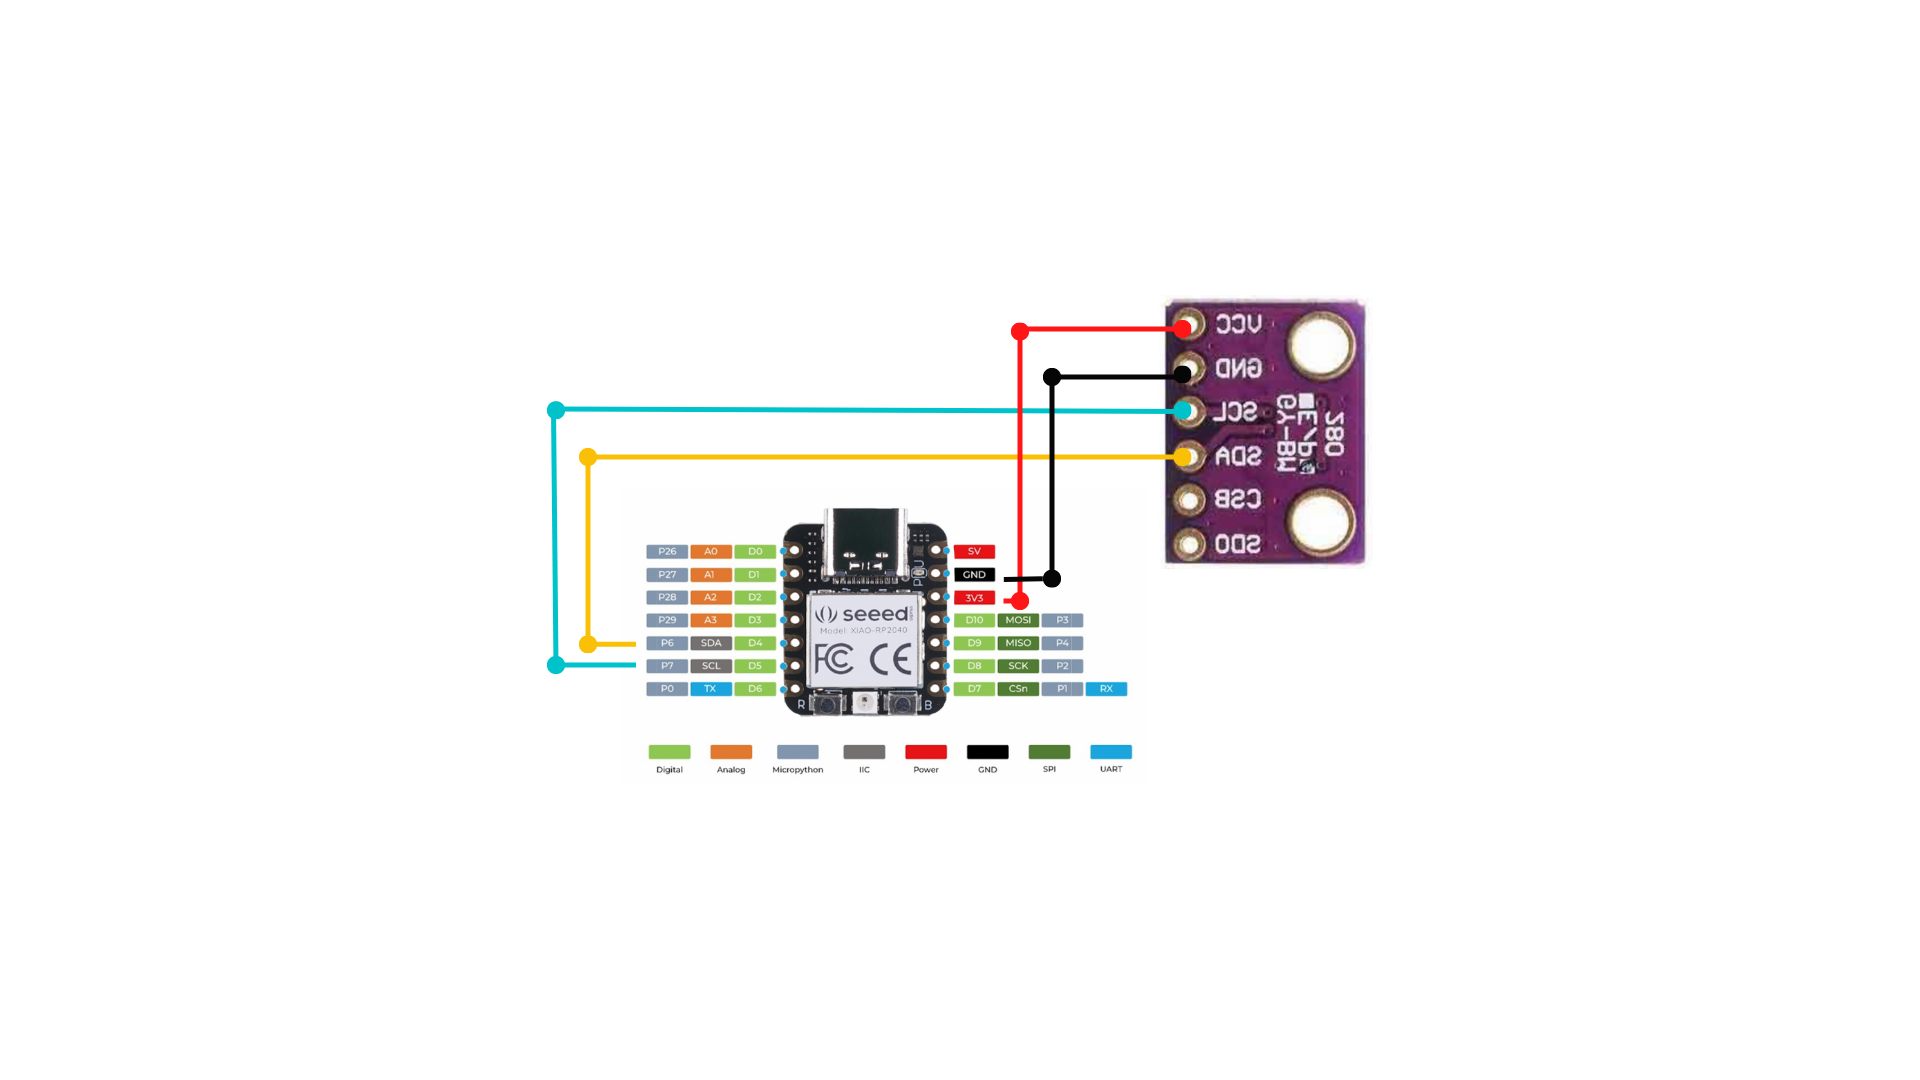
    Utilize 4 jumper wires to connect the device as shown.

    Step 3-) Download MicroPython on RP2040

    Download Thonny:

    https://thonny.org/

    Go through the installation process and open Thonny.

    Plugin RP2040, but before you plug in your RP2040 to your computer, hold the "boot" button (shown below) on the device as you plug in the USB-C.
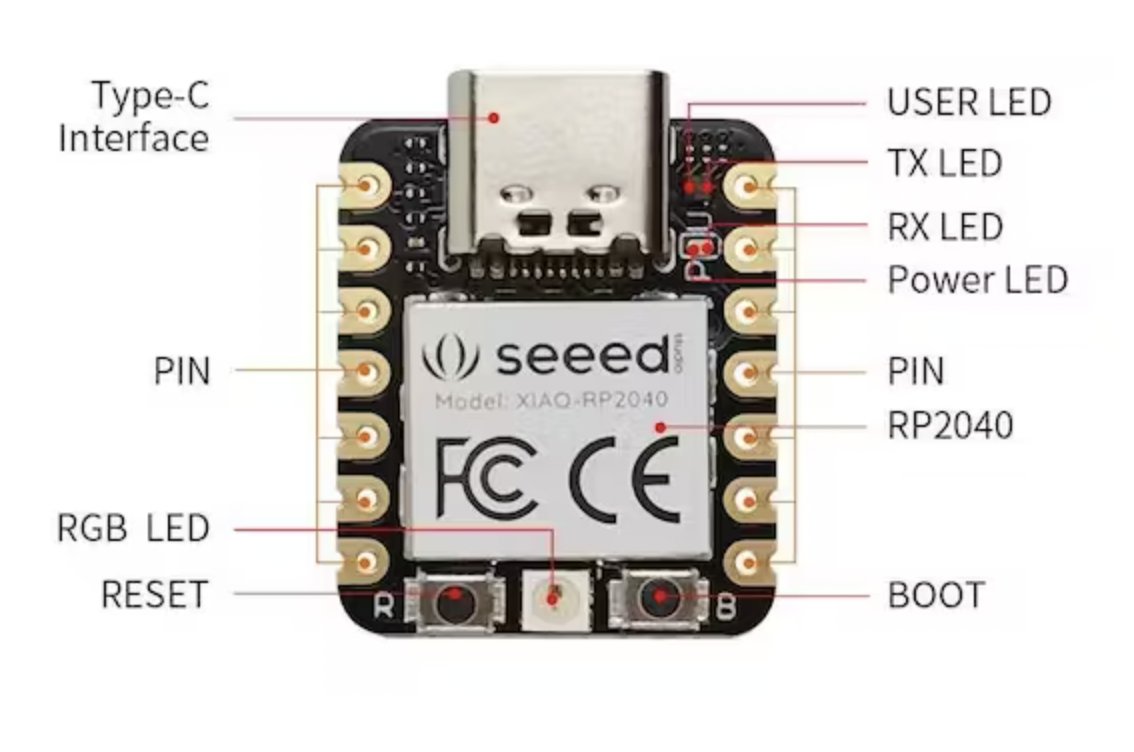
    We’re going to install MicroPython, so once plugged in, you need to click Tools in the menu above and go to Interpreter. Click install on the bottom right, and select the target volume and the variant you would like, the Pico H variant is fine for this tutorial. Should be installed after you click Install.

    You can now select the device from the bottom right of the screen in Thonny to start creating files!

    Step 4-) Install BME280 Library

    Go to Tools > Manage Packages, and download the micropython-bme280 library

    Step 5-) Run the following code

    from machine import Pin, I2C        #importing relevant modules & classes
    from time import sleep
    import bme280       #importing BME280 library
    
    i2c=I2C(1,sda=Pin(6), scl=Pin(7), freq=400000)    #initializing the I2C method 
    
    
    while True:
      bme = bme280.BME280(i2c=i2c)          #BME280 object created
      print(bme.values)
      sleep(1)           #delay of 10s

    Save the code onto a file on your device and run to get values! Should work if everything is set up correctly.

    Conclusion

    Do not forget to like, comment, and subscribe to the channel. Hope you got your components set up easily and are ready to start working on your projects.

    Create a free account to access full content.

    All access to code and resources on ShillehTek.

    Signup Now

    Already a member? Sign In

    Explore More on Our Blog

    Implementing Google reCAPTCHA in a Simple React and Node.js App

    Implementing Google reCAPTCHA in a Simple React and Node.js App

    Learn how to protect your React applications from bots and spam with Google reCAPTCHA integration! This step-by-step tutorial...

    AWS Lambda Tutorial: Using Selenium with Chromedriver in Python

    AWS Lambda Tutorial: Using Selenium with Chromedriver in Python

    In this tutorial, I will guide you through the process of running Selenium with ChromeDriver inside an AWS...

    How to Connect MLX90614 Infrared Thermometer to Raspberry Pi Pico W: MicroPython Tutorial!

    How to Connect MLX90614 Infrared Thermometer to Raspberry Pi Pico W: MicroPython Tutorial!

    Learn how to use the MLX90614 with the Raspberry Pi Pico W and get infrared values in MicroPython.

    Raspberry Pi Pico/Pico W Free Simulator

    Raspberry Pi Pico/Pico W Free Simulator

    Discover how to simulate Raspberry Pi Pico projects using Wokwi, a free online simulator for Arduino and MicroPython....

    Interfacing the MPU6050 with Raspberry Pi Pico W in C++

    Interfacing the MPU6050 with Raspberry Pi Pico W in C++

    Interface with the MPU6050 using the Raspberry Pi Pico W in C++.

    How to Write your First C++ Program on the Raspberry Pi Pico W

    How to Write your First C++ Program on the Raspberry Pi Pico W

    Write your first C++ Program on the Pico W in a few simple steps.

    How to Use ThingSpeak with the Raspberry Pi Pico W

    How to Use ThingSpeak with the Raspberry Pi Pico W

    Learn how to create a real-time environmental monitoring system with the Raspberry Pi Pico W and ThingSpeak!

    How to Use ADS1115 with the Raspberry Pi (Part 1)

    How to Use ADS1115 with the Raspberry Pi (Part 1)

    Discover how to expand your Raspberry Pi projects by integrating the ADS1115 ADC for precise analog signal reading....

    How to Install Pip Packages in AWS Lambda Using Docker and ECR

    How to Install Pip Packages in AWS Lambda Using Docker and ECR

    Learn how to streamline AWS Lambda deployments by using Docker and Amazon Elastic Container Registry (ECR) to package...

    Create Tabular Product Descriptions on Your Shopify Store

    Create Tabular Product Descriptions on Your Shopify Store

    Enhance your Shopify store's product pages with our comprehensive guide on implementing tabular descriptions. Learn how to add a...

    Back to blog

    Leave a comment

    Please note, comments need to be approved before they are published.