
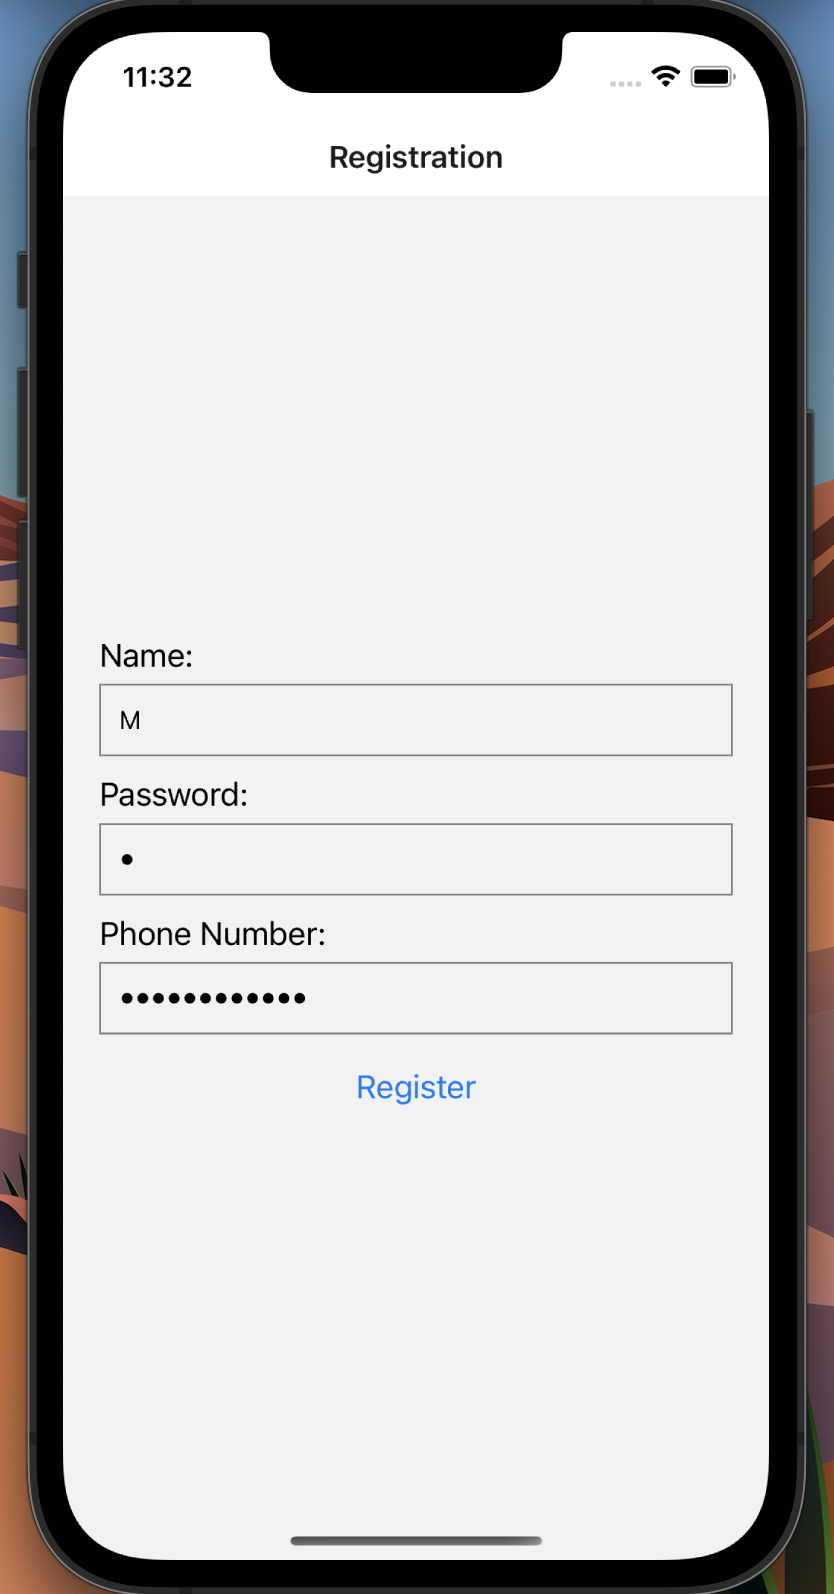
In this tutorial, we will explore how to set up phone verification for users who register in your application. This is an important feature to reduce spam users and increase the security and performance of your application. We will be using MERN along with Twilio to build the solution, all of which is free. We will work with a barebone solution, the aim is to give you an idea so that you can adjust accordingly within your own app. The solution will look as follows, with a simple registration and verification screen:
Before reading the remainder, be sure to subscribe and support the channel if you have not!
Subscribe:
Support:
https://www.buymeacoffee.com/mmshilleh
All code related to this project is here.
Step 1-) Create your Twilio Account
https://www.twilio.com/
Creating a Twilio account is initially free, and no need for credit cards which is nice! You get 15 dollars of credit, which is enough to send a few thousand SMS messages (great for development). When creating an account they will give you a Twilio phone number along with an account ID and a token that you will need to start sending messages. Overall it is really easy, just click through the above link to set this up.
Step 2-) Frontend
For our front end, we utilize an expo to simulate the project as you saw in the screens above. The code for the two screens is as follows
Registration
import React, { useState } from 'react';
import { View, Text, TextInput, Button, StyleSheet } from 'react-native';
import axios from 'axios';

const Registration = ({ navigation }) => {
  const [name, setName] = useState('');
  const [password, setPassword] = useState('');
  const [phoneNumber, setPhoneNumber] = useState('');

  const handleRegister = async () => {
    try {
      const response = await axios.post('http://localhost:3000/register', {
        name: name,
        password: password,
        phoneNumber: phoneNumber,
      }, {headers: {
        'Content-Type': 'application/json',
      }});

      if (response.status === 201) {
        navigation.navigate('Verification', { phoneNumber });
      }
    } catch (error) {
      console.error(error);
    }
  };

  return (
    <View style={styles.container}>
      <Text style={styles.label}>Name:</Text>
      <TextInput
        style={styles.input}
        value={name}
        onChangeText={setName}
        placeholder="Enter your name"
      />

      <Text style={styles.label}>Password:</Text>
      <TextInput
        style={styles.input}
        value={password}
        onChangeText={setPassword}
        secureTextEntry
        placeholder="Enter your password"
      />

      <Text style={styles.label}>Phone Number:</Text>
      <TextInput
        style={styles.input}
        value={phoneNumber}
        onChangeText={setPhoneNumber}
        secureTextEntry
        placeholder="Enter your phone number"
      />

      <Button title="Register" onPress={handleRegister} />
    </View>
  );
};

const styles = StyleSheet.create({
  container: {
    flex: 1,
    padding: 20,
    justifyContent: 'center',
  },
  label: {
    fontSize: 18,
    marginBottom: 5,
  },
  input: {
    height: 40,
    borderColor: 'gray',
    borderWidth: 1,
    marginBottom: 10,
    paddingLeft: 10,
  },
});

export default Registration;
Import Statements:
Import necessary modules and components from React Native and other libraries. Axios is imported for making HTTP requests.
Functional Component Declaration:
A functional component named Registration is defined.
State Variables:
useState is used to define three state variables:
- name: Stores the user's name.
- password: Stores the user's password.
- phoneNumber: Stores the user's phone number.
handleRegister Function:
This is an asynchronous function that is called when the "Register" button is pressed. It makes an HTTP POST request to a local server at 'http://localhost:3000/register' with the user's name, password, and phone number. It sets the 'Content-Type' header to 'application/json' for the request. If the request is successful (status code 201), it uses the navigation prop to navigate to the 'Verification' screen and passes the phoneNumber as a parameter. Any errors that occur during the HTTP request are logged to the console.
Render Method:
The return statement defines the UI of the component. It displays a container (View) containing text labels for name, password, and phone number. Input fields (TextInput) for entering the user's name, password (with secure text entry), and phone number. A "Register" button that triggers the handleRegister function when pressed.
Styles:
A set of styles are defined using the StyleSheet.create method. These styles determine the appearance and layout of the components in the UI.
Export:
The Registration component is exported as the default export of this module, making it available for use in other parts of the application.
In summary, this code sets up a React Native component for user registration. It captures the user's name, password, and phone number, sends them to a server for registration, and navigates to the 'Verification' screen upon successful registration. The user interface is created using React Native components and styled using CSS-like styles.
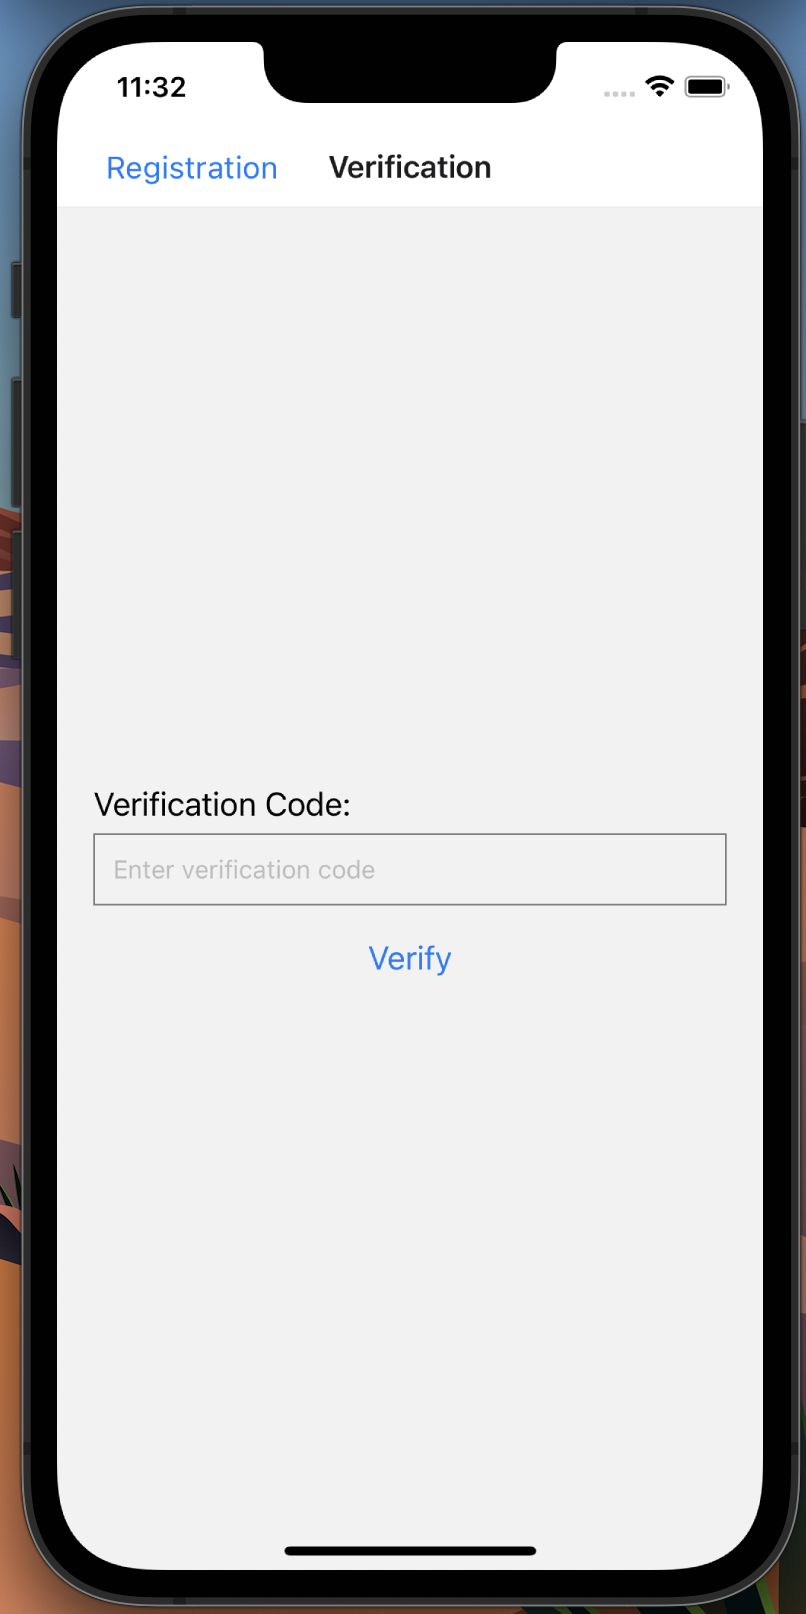
Verification
import React, { useState } from 'react';
import { View, Text, TextInput, Button, StyleSheet } from 'react-native';
import axios from 'axios';
import { useRoute } from '@react-navigation/native';

const Verification = () => {
  const [verificationCode, setVerificationCode] = useState('');
  const [verificationStatus, setVerificationStatus] = useState(null);
  const route = useRoute();
  const { phoneNumber } = route.params;

  const handleVerify = async () => {
    try {
      const response = await axios.post('http://localhost:3000/verify', {
        phoneNumber: phoneNumber,
        verificationCode: verificationCode
      });

      if (response.status === 200) {
        setVerificationStatus('Verification successful');
      } else {
        setVerificationStatus('Verification failed. Please try again.');
      }
    } catch (error) {
      console.error(error);
    }
  };

  return (
    <View style={styles.container}>
      {verificationStatus && <Text style={styles.successMessage}>{verificationStatus}</Text>}
      <Text style={styles.label}>Verification Code:</Text>
      <TextInput
        style={styles.input}
        value={verificationCode}
        onChangeText={setVerificationCode}
        placeholder="Enter verification code"
      />

      <Button title="Verify" onPress={handleVerify} />
    </View>
  );
};

const styles = StyleSheet.create({
  container: {
    flex: 1,
    padding: 20,
    justifyContent: 'center',
  },
  label: {
    fontSize: 18,
    marginBottom: 5,
  },
  input: {
    height: 40,
    borderColor: 'gray',
    borderWidth: 1,
    marginBottom: 10,
    paddingLeft: 10,
  },
  successMessage: {
    fontSize: 16,
    color: 'green',
    marginBottom: 10,
  },
});

export default Verification;
Import Statements:
Import necessary modules and components from React Native and other libraries. Axios is imported for making HTTP requests. useRoute is imported from '@react-navigation/native' to access route parameters.
Functional Component Declaration:
A functional component named Verification is defined.
State Variables:
useState is used to define two state variables:
- verificationCode: Stores the user-entered verification code.
- verificationStatus: Stores the result of the verification process (success or failure).
Parameter Extraction:
The phoneNumber parameter is extracted from the route's params. This parameter presumably contains the user's phone number. You should unmask this in your application. You need to include the area code of the number for it to work. For example, the US is +1.
handleVerify Function:
This is an asynchronous function that is called when the "Verify" button is pressed. It makes an HTTP POST request to a local server at 'http://localhost:3000/verify' with the user's phone number and the entered verification code. If the request is successful (status code 200), it sets verificationStatus to 'Verification successful'. If the request fails, it sets verificationStatus to 'Verification failed. Please try again.' Any errors that occur during the HTTP request are logged to the console.
Render Method:
The return statement defines the UI of the component. It displays a container (View) containing a success message (if verificationStatus is truthy), which is styled in green if the verification is successful. A label for the verification code input field. An input field (TextInput) for entering the verification code. A "Verify" button that triggers the handleVerify function when pressed.
Styles:
A set of styles are defined using the StyleSheet.create method. These styles determine the appearance and layout of the components in the UI.
Export:
The Verification component is exported as the default export of this module, making it available for use in other parts of the application.
In summary, this code sets up a React Native component for phone number verification. It captures the verification code entered by the user, sends it to a server for verification, and displays a success or failure message based on the server's response. The user interface is created using React Native components and styled using CSS-like styles.
Step 3-) Backend
const mongoose = require('mongoose');
const twilio = require('twilio');
const express = require('express');

const config = require('./config');
const User = require('./models/User.js');

mongoose.connect(config.mongoURI, {
  useNewUrlParser: true,
  useUnifiedTopology: true,
});

const db = mongoose.connection;
const twilioClient = twilio(config.twilioAccountSID, config.twilioAuthToken);


db.on('error', console.error.bind(console, 'MongoDB connection error:'));
db.once('open', () => {
  console.log('Connected to MongoDB');
});

const app = express();
app.use(express.json());

app.post('/register', async (req, res) => {
  try {
    const user = new User({
      name: req.body.name,
      password: req.body.password,
      phoneNumber: req.body.phoneNumber,
    });
    await user.save();

    const verificationCode = generateRandomCode();

    await twilioClient.messages.create({
      body: `Your verification code is: ${verificationCode}`,
      from: '+18444361959',
      to: req.body.phoneNumber,
    });

    user.verificationCode = verificationCode;
    await user.save();

    res.status(201).json({ message: 'User registered successfully' });
  } catch (error) {
    console.error(error);
    res.status(500).json({ error: 'Internal server error' });
  }
});


app.post('/verify', async (req, res) => {
  try {
    const phoneNumber = req.body.phoneNumber;
    const verificationCode = req.body.verificationCode;

    const user = await User.findOne({ phoneNumber });
    if (!user) {
      res.status(404).json({ error: 'User not found' });
      return;
    }

    if (user.verificationCode === verificationCode) {
      res.status(200).json({ message: 'Verification successful' });
    } else {
      res.status(400).json({ error: 'Verification code is incorrect' });
    }
  } catch (error) {
    console.error(error);
    res.status(500).json({ error: 'Internal server error' });
  }
});


function generateRandomCode() {
  return Math.floor(100000 + Math.random() * 900000).toString();
}


const port = 3000;
app.use(express.json());

app.listen(port, () => {
  console.log(`Server is running on port ${port}`);
});
Imports:
The provided code is a Node.js backend server that serves as the server-side logic for the phone number registration and verification process in a MERN (MongoDB, Express, React, Node.js) stack application. It imports necessary Node.js modules, including mongoose for working with MongoDB, twilio for sending SMS messages, and express for setting up the web server. It also imports a configuration file (config.js) and the User model from a separate file.
Database Connection:
It establishes a connection to a MongoDB database using the mongoose.connect method. The connection string and options are defined in the config file. It sets up event listeners for database connection errors and successful connection (db.on and db.once).
Express Setup:
The code creates an instance of the Express application and uses express.json() middleware to parse incoming JSON requests.
User Registration Endpoint:
A POST request handler at the route '/register' is defined. This handler is responsible for user registration. It creates a new User document in MongoDB based on the data received in the request (name, password, and phoneNumber). It generates a random verification code using the generateRandomCode function. It sends an SMS containing the verification code to the provided phone number using the Twilio API. It updates the User document with the verification code and responds with a success message if the user is registered successfully.
User Verification Endpoint:
A POST request handler at the route '/verify' is defined. This handler is responsible for verifying the user's phone number using the provided verification code. It finds a user with the specified phone number and checks if the verification code matches the one stored in the database. It responds with a success message if the verification is successful or an error message if the verification code is incorrect or if the user is not found.
Random Code Generation Function:
The code defines the generateRandomCode function to create a random 6-digit verification code.
Server Configuration and Start:
The server is configured to listen on port 3000. The server is started, and a message is logged to the console when it starts listening.
In summary, this Node.js backend code provides endpoints for user registration and phone number verification. It interacts with a MongoDB database to store user information and uses Twilio to send SMS verification codes. It's designed to work as the server-side component of a MERN stack application, with React Native being used for the mobile app's front end.
Conclusion
Hope this helped and you learned something new! If you did please be sure to subscribe to the channel to show your support it would be awesome. We have plenty of content regarding web development, IoT, and more. Leave any questions here or on the youtube video and will be sure to get back to you. Stay tuned!


