
Creating a Cron job in GCP can be a useful way to periodically schedule a process within your application. We will be going over an example today where we demonstrate how to schedule a GCP Cron job to hit an endpoint within your Node Application. In this backend request, we will check if users in our MongoDB database are unverified and if they have no credits within our application, if so, we will clear them from our storage.
However in reality you can have any process you like depending on your application needs.
Prerequisites
- Be able to deploy a Node Application to a GCP App Engine
- Be familiar with creating APIs in Node
Before we get started, do not forget to subscribe and support the channel.
Subscribe:
Support:
https://www.buymeacoffee.com/mmshilleh
Step 1-) Setup a backend endpoint in your Node Application
app.post('/clearUnverifiedUsers', async (req, res) => {
  try {
    const secret = req.body.secret;
    if (secret !== 'password') {
      return res.status(403).json({ message: `Body ${secret}` });
    }

    const result = await signinTable.deleteMany({ verified: false, credits: 0 });
    return res.json({ message: 'Users cleared successfully', deletedCount: result.deletedCount });
  } catch (error) {
    return res.status(500).json({ error: 'Internal Server Error' });
  }
});
We set up a backend endpoint with an extension /clearUnverifiedUsers. This is set up as a post request. We verify that the secret we pass into the POST request matches, or else we return an erroneous status code. Next, we simply use Mongoose in our Node application to check users in the database for specific information (verified = false & credits = 0). If we find such users we delete them!
Depending on your purposes you probably want to change the code in this endpoint.
Step 2-) Create Cron Job in GCP
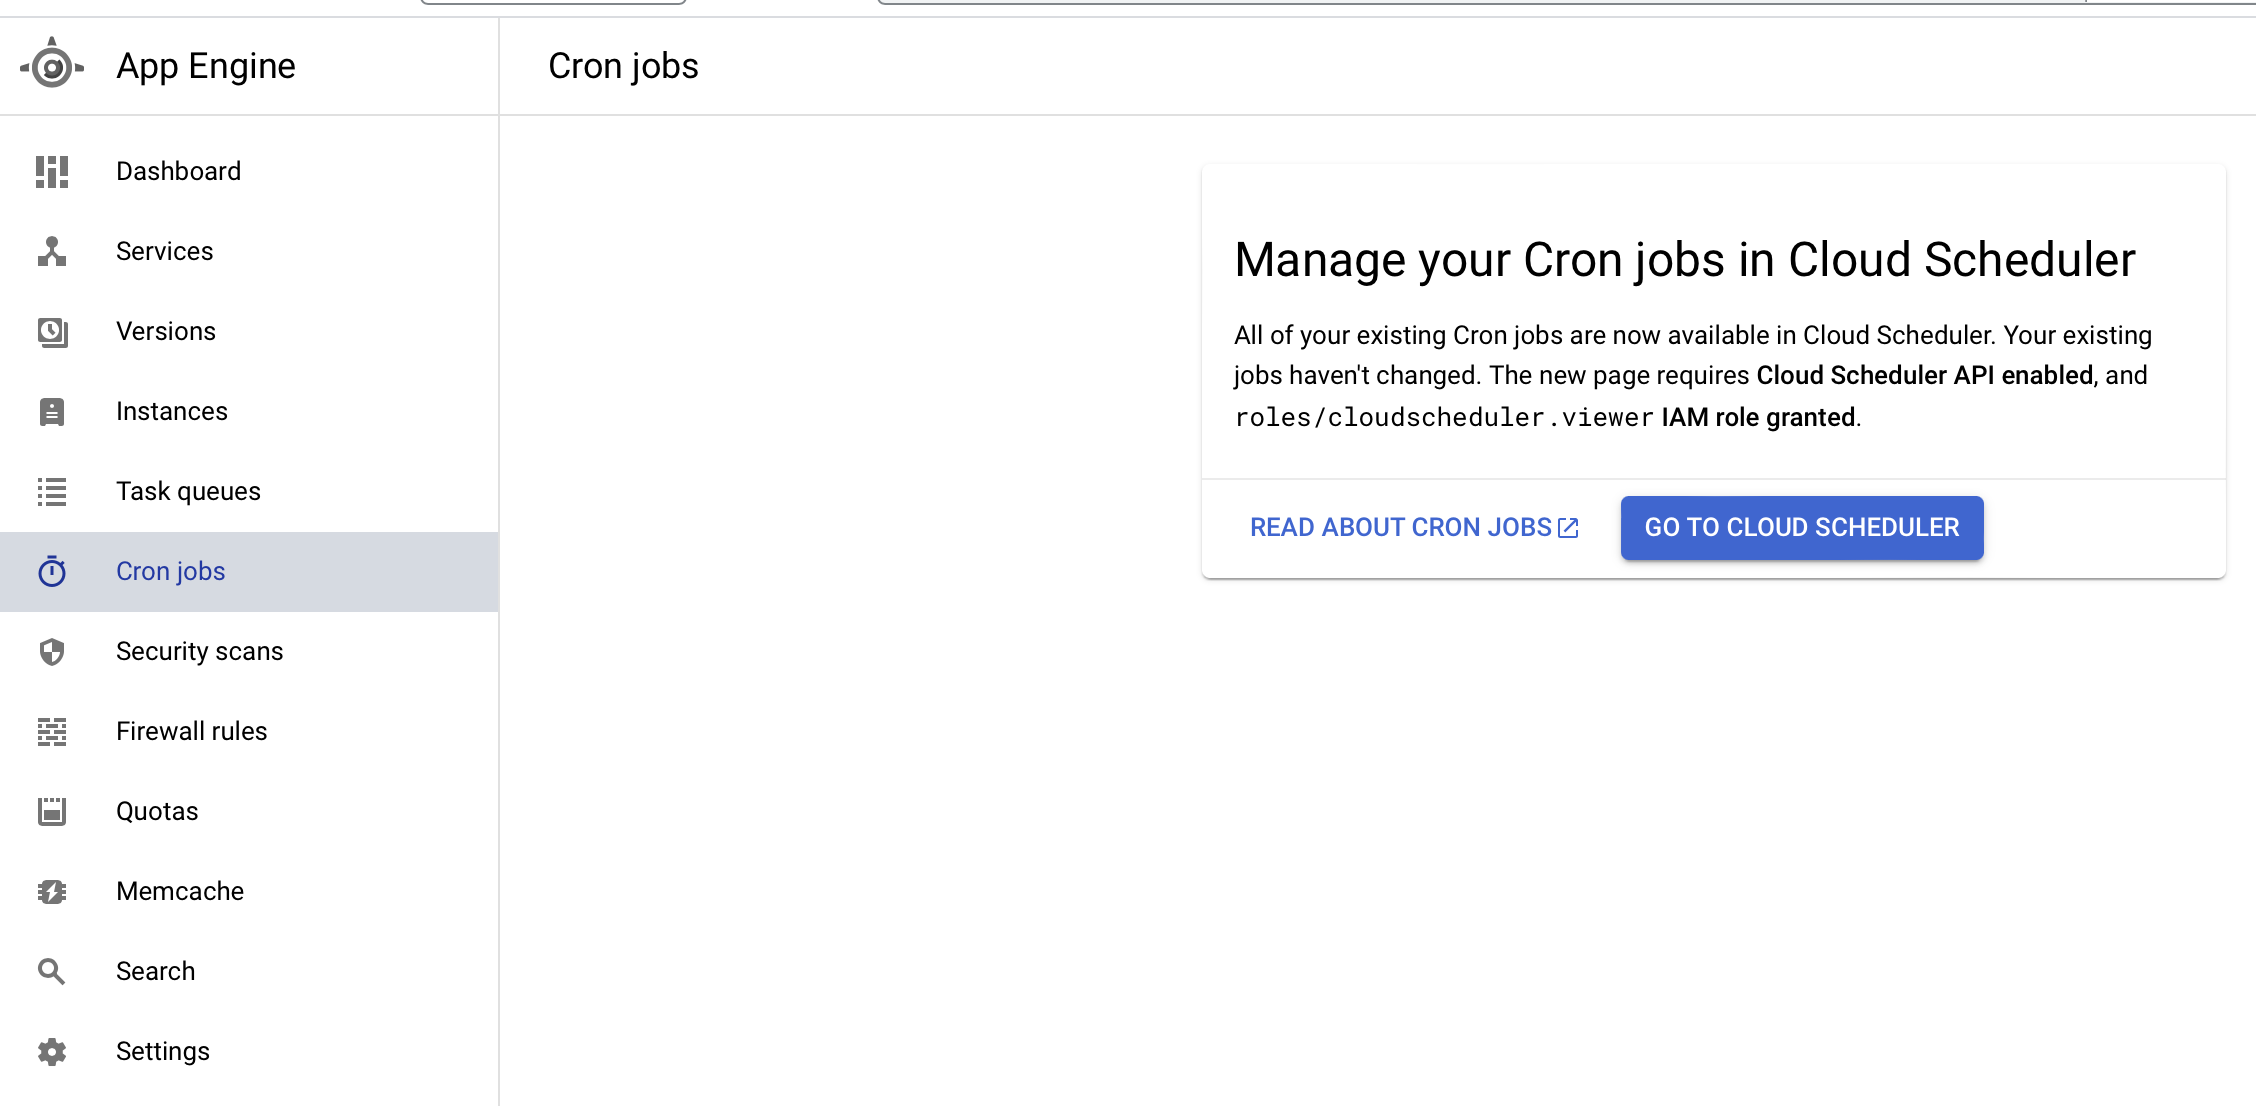
Go to the App Engine in GCP and select the Cron Jobs tab, select GO TO CLOUD SCHEDULER and CREATE JOB.

They will ask you for various sorts of information shown below

The main information here is that you want to specify the frequency in a cron expression. More information could be found here https://crontab.guru .
You will also need to add the URL extension plus the JSON payload shown here.
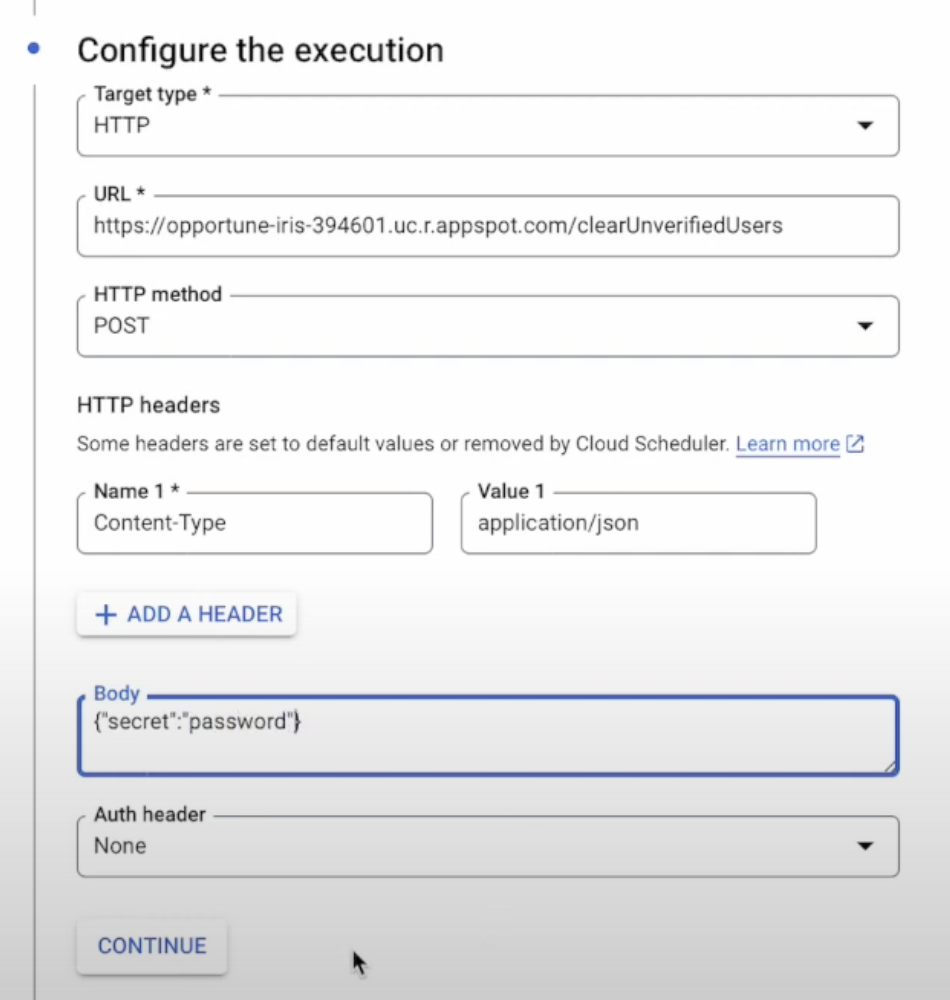
We pass in the header for Content-Type since we are using JSON format. The only thing we have in the body of the request is the secret for our backend endpoint. The URL depends on your GCP backend URL and the extension that you define in your Node Application. You can now save this Cron job.
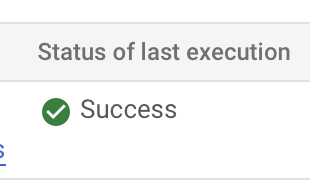
However, because this is being scheduled every week we can schedule a Force Run in the menu bar to prove that it works. If it runs successfully you should see the status of execution as Success.
Conclusion
If you did everything correctly your Cron job in GCP should start running successfully. Hope you learned something useful in this quick tutorial. Do not forget to subscribe for more Full Stack information to help you with App Development.