
Resetting a user password in a React Native application is an essential feature you need to produce a great user experience in your application. Having a solid Forgot Password feature will allow more users to reuse and access your application, increasing the revenue of your application. I show in this tutorial how to easily set up such a feature using a React Native frontend, Node backend with Express, and MongoDB database. I assume in this tutorial that you are immediately familiar with the 3 stacks of MERN and have some basic experience with React Native hooks and Express.
Step 1-) Forgot Password Button on Sign-in Screen
First, create a simple button component tied to a function with onPress:
<Button style={styles.forgotPasswordButton} onPress={handleForgotPass}>
  Forgot Password
</Button>
The function is defined as follows:
const handleForgotPass = () => {
    navigation.navigate('ForgotPassword')
    clearStates()
  }
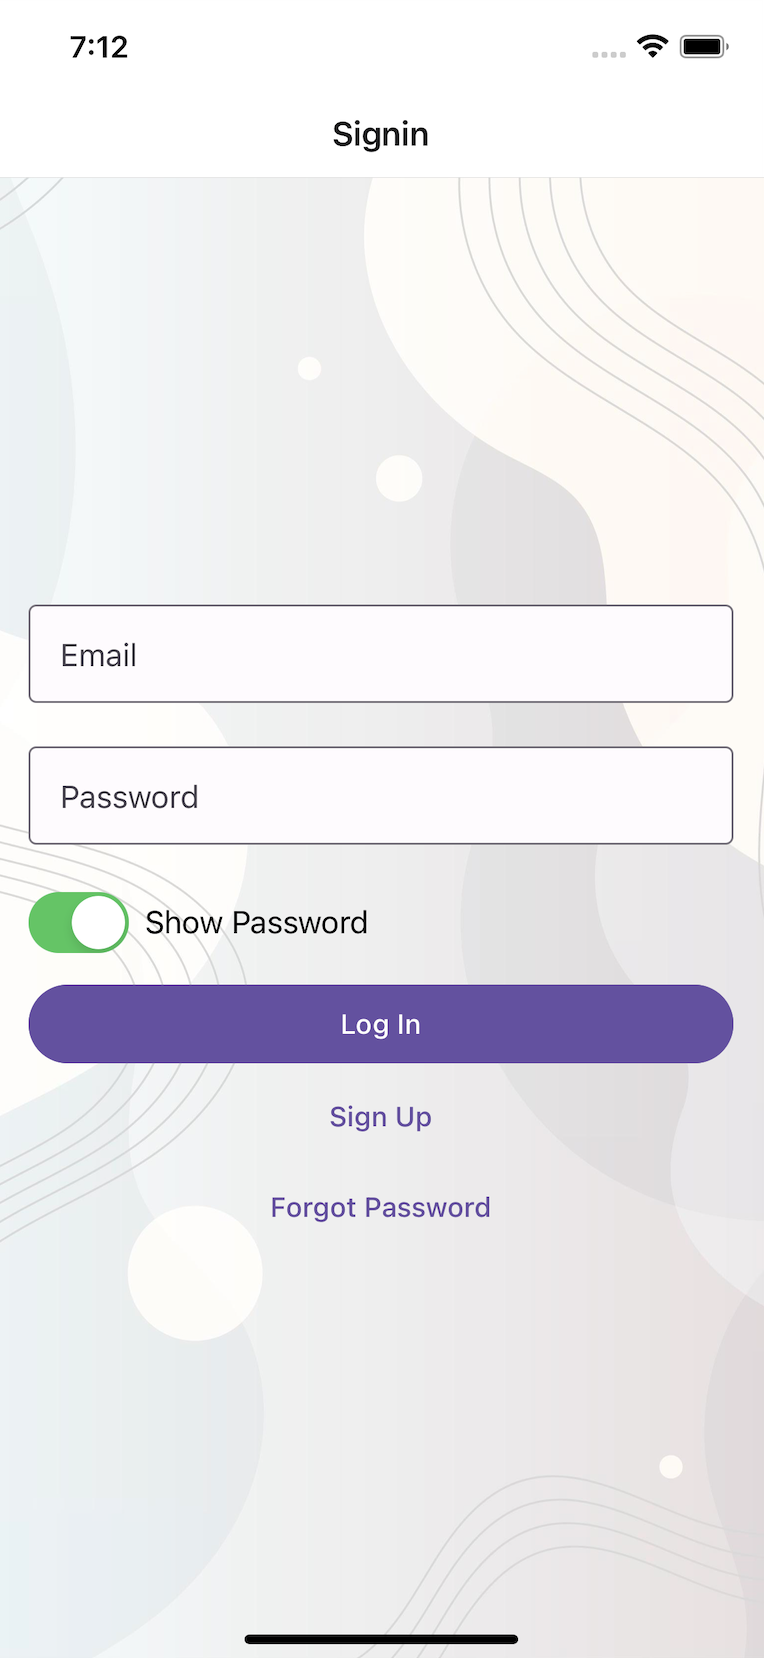
This is the screen where I have the button. Clicking the button takes you to another screen, as simple as that.
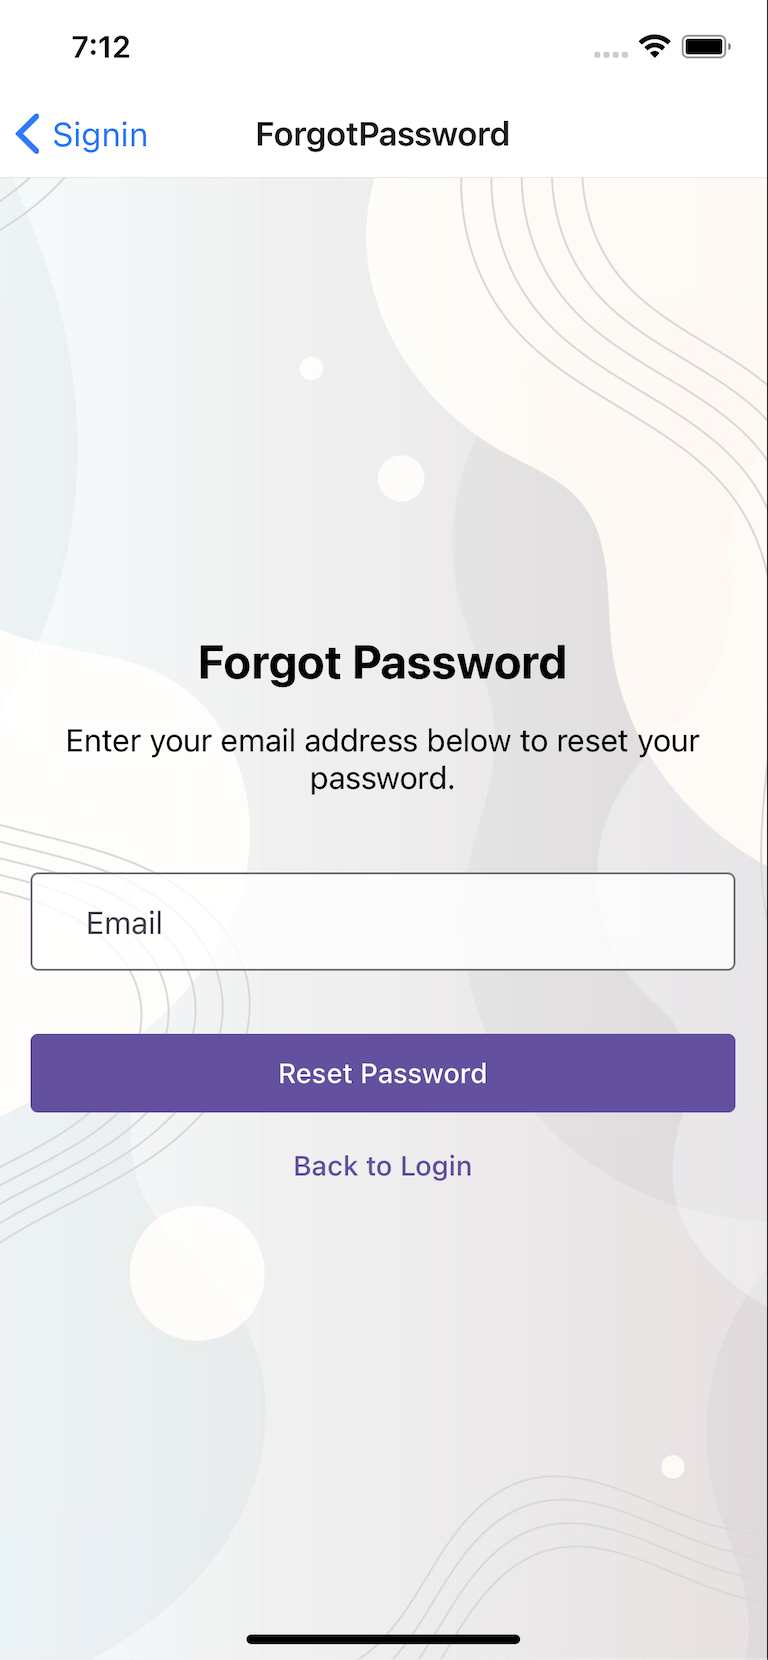
Step 2-) Forgot Password Screen
Once again we have a button and a function in the frontend. The button and function are as follows:
<Button mode="contained" onPress={handleResetPassword} style={styles.button}>
  Reset Password
</Button>
  const { setForgotEmail } = useContext(AuthContext);
  const [email, setEmail] = useState('');
  const [error, setError] = useState('');

  const handleResetPassword = async () => {
    try {
      const data = {
        email: email,
      };
      await axios.post('http://localhost:3001/resetPassword', data, {
        headers: {
          'Content-Type': 'application/json',
        },
      }).then((response) => {
        if (response.data.success) {
          setForgotEmail(email)
          navigation.navigate('ResetPasswordConfirmation');
        } else {
          setError('There was an issue resetting your password. Please try again.');
        }
      });
    } catch (error) {
      console.error(error);
    }
  };
The backend code is as follows
app.post('/resetPassword', async(req, res) => {
  try {
    const email = req.body.email;
    signinTable = Schemas.SIGNIN
    const existingUser = await signinTable.findOne({ email });

    if (!existingUser) {
      console.error({ success: false, message: 'There was an Error' });
      return res.send({ success: false, message: 'If user exists, an email was sent' });
    }

    const token = await generateCode(5)
    existingUser.resettoken = token;
    existingUser.resettokenExpiration = Date.now() + 3600000;
    await existingUser.save();
    await sendEmail(email, `Here is your Reset Token ${token}`)
    return res.send({ success: true, message: 'Email sent' });

  } catch (error) {
    console.error(error)
  }
})
At a high level, we are sending the user email to our backend to process the email. In the backend, we check if the user email exists in MongoDB, followed by generating a token (I use a random number generator in a separate function) and expiration. These properties are added to the user in the database. The token is then sent to the user's email and the response is sent to the frontend.
I have another video where I talk about sending emails in Node here.
Step 3-) Reset Password Confirmation Screen
After the user requests a reset token they now navigate to the reset password confirmation screen. Once again here is the button and corresponding frontend function.
  Submit
</Button>
const handleSubmit = async () => {
    if (newPassword !== confirmPassword) {
      setErrorMessage('Passwords do not match. Please try again.');
      return;
    }

    try {
      const data = {
        email: forgotEmail,
        verificationCode: verificationCode,
        password: newPassword,
      };
      const response = await axios.post('http://localhost:3001/resetPasswordConfirm', data, {
        headers: {
          'Content-Type': 'application/json',
        },
      });
      if (response.data.success) {
        setSuccessMessage('Password reset successful!');
        setErrorMessage('')
        navigation.navigate('Home');
        setForgotEmail('')
      } else {
        setErrorMessage(response.data.message);
      }
    } catch (error) {
      console.error(error);
      setErrorMessage('An error occurred. Please try again later.');
    }
  };
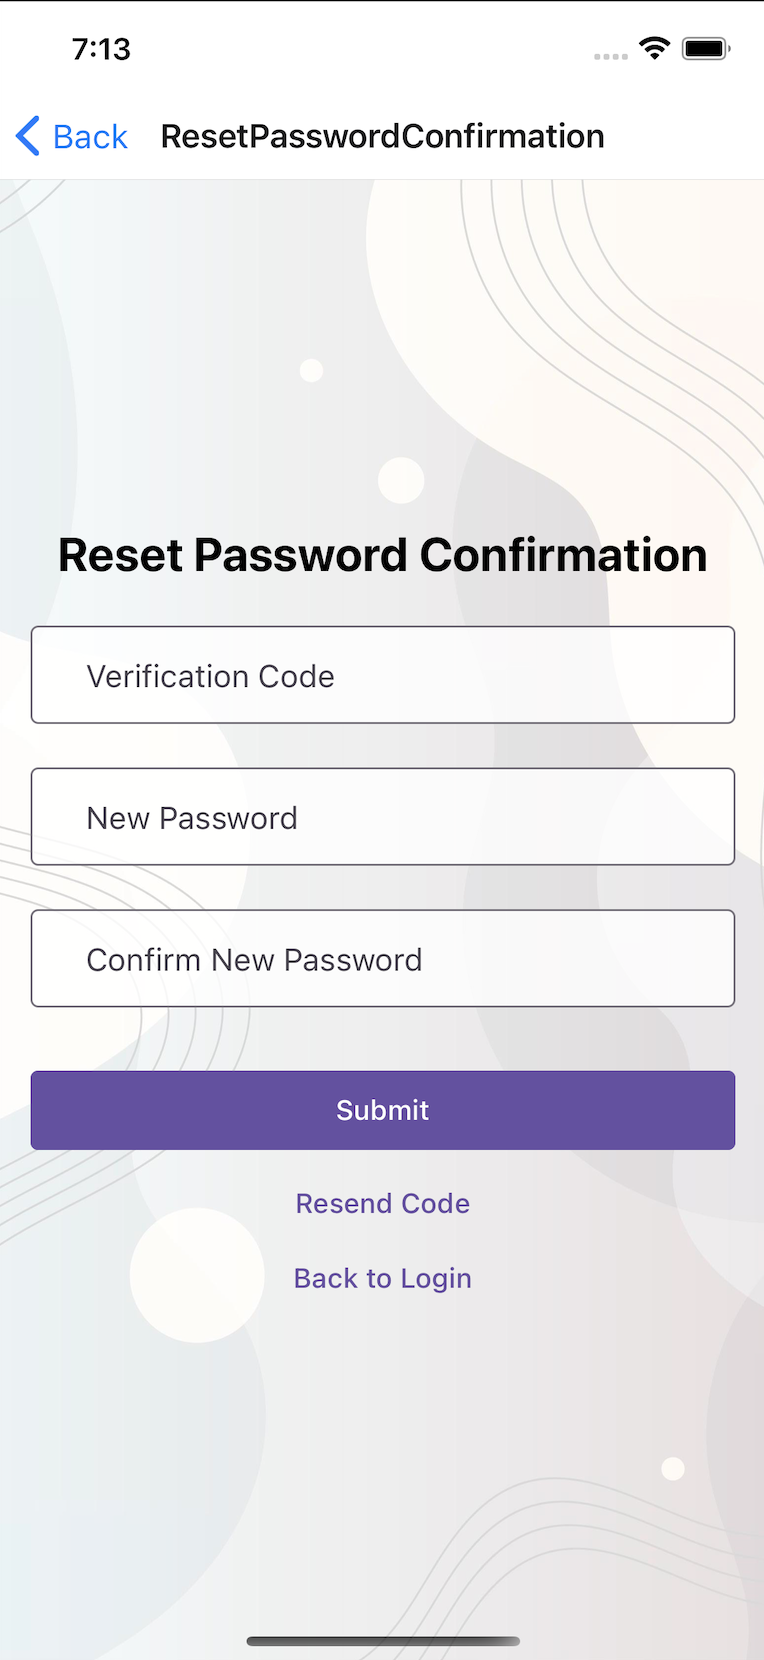
If you pass your verification code and new password to the form successfully, you should navigate to the Home screen of the app! Pretty cool. Here is the backend code that processes the request.
app.post('/resetPasswordConfirm', async (req, res) => {
  try {
    signinTable = Schemas.SIGNIN
    const email = req.body.email
    const verificationCode = req.body.verificationCode
    const password = req.body.password
    const user = await signinTable.findOne({ email });
    passwordStrength = isStrongPassword(password)
    if (!passwordStrength.strong) {
      return res.send({ success: false, message: passwordStrength.missingRequirements.join('\n') });
    }
    if (!user || user.resettoken !== verificationCode) {
      return res.status(400).send({ success: false });
    }
    if (user.resettokenExpiration < new Date()) {
      return res.status(400).send({ success: false, message: 'Token has expired.' });
    }

    const hashedPassword = await bcrypt.hash(password, 10);
    user.password = hashedPassword;
    user.token = '';
    user.tokenExpiration = null;
    await user.save();
    return res.status(200).send({ success: true });

  } catch (error) {
    console.error(error);
    return res.status(500).send({ success: false, message: 'An error occurred. Please try again later.' });
  }
});
We can see in the backend we do some checks for the user email and see if the verification code and expiration date are valid. We then reset based on what the user entered. I also implemented a function that checks password strength but you can ignore that for the scope of this tutorial. Finally, we clear the properties in the database for the token and the expiration and send the response to the frontend. Furthermore, here is the MongoDB schema I defined in my node app just for your information:
const signin = new Schema({
    password: {type:String, required:true},
    email: {type:String, required:true},
    code: {type:String, required:true},
    verified: {type:Boolean, required:true},
    resettoken: {type:String, required:false},
    resettokenExpiration: {type:Date, required:false}
})

const SIGNIN = mongoose.model('SIGNIN', signin,)
const mySchemas = {
    'SIGNIN': SIGNIN,
}
If you have any questions or want to see more code let me know in the comments.
Do not forget to subscribe to the channel would mean a lot!
Thanks!