Storing data into the MongoDB Database is very easy with the Raspberry Pi Pico W. The only thing we need is an active internet connection and we can insert data through their Data API in a few steps. Also, it is all free to get started and this can provide powerful use cases to an IoT application. It can be particularly useful when working with slow-moving data.
Also, MongoDB is a NoSQL database which means it uses a BSON format to insert more complex data structures than traditional databases, which also has its Pros. It has its cons as well, one of them being that it can be slower to query data due to the nature of NoSQL; I will discuss the Pros and Cons in more detail in Part 2.
Before reading the remainder, be sure to subscribe and support the channel if you have not!
Subscribe:
Support:
https://www.buymeacoffee.com/mmshilleh
Step 1-) MongoDB Account Setup
- Go to mongodb.com and create a free account
- Enable Data API in your account
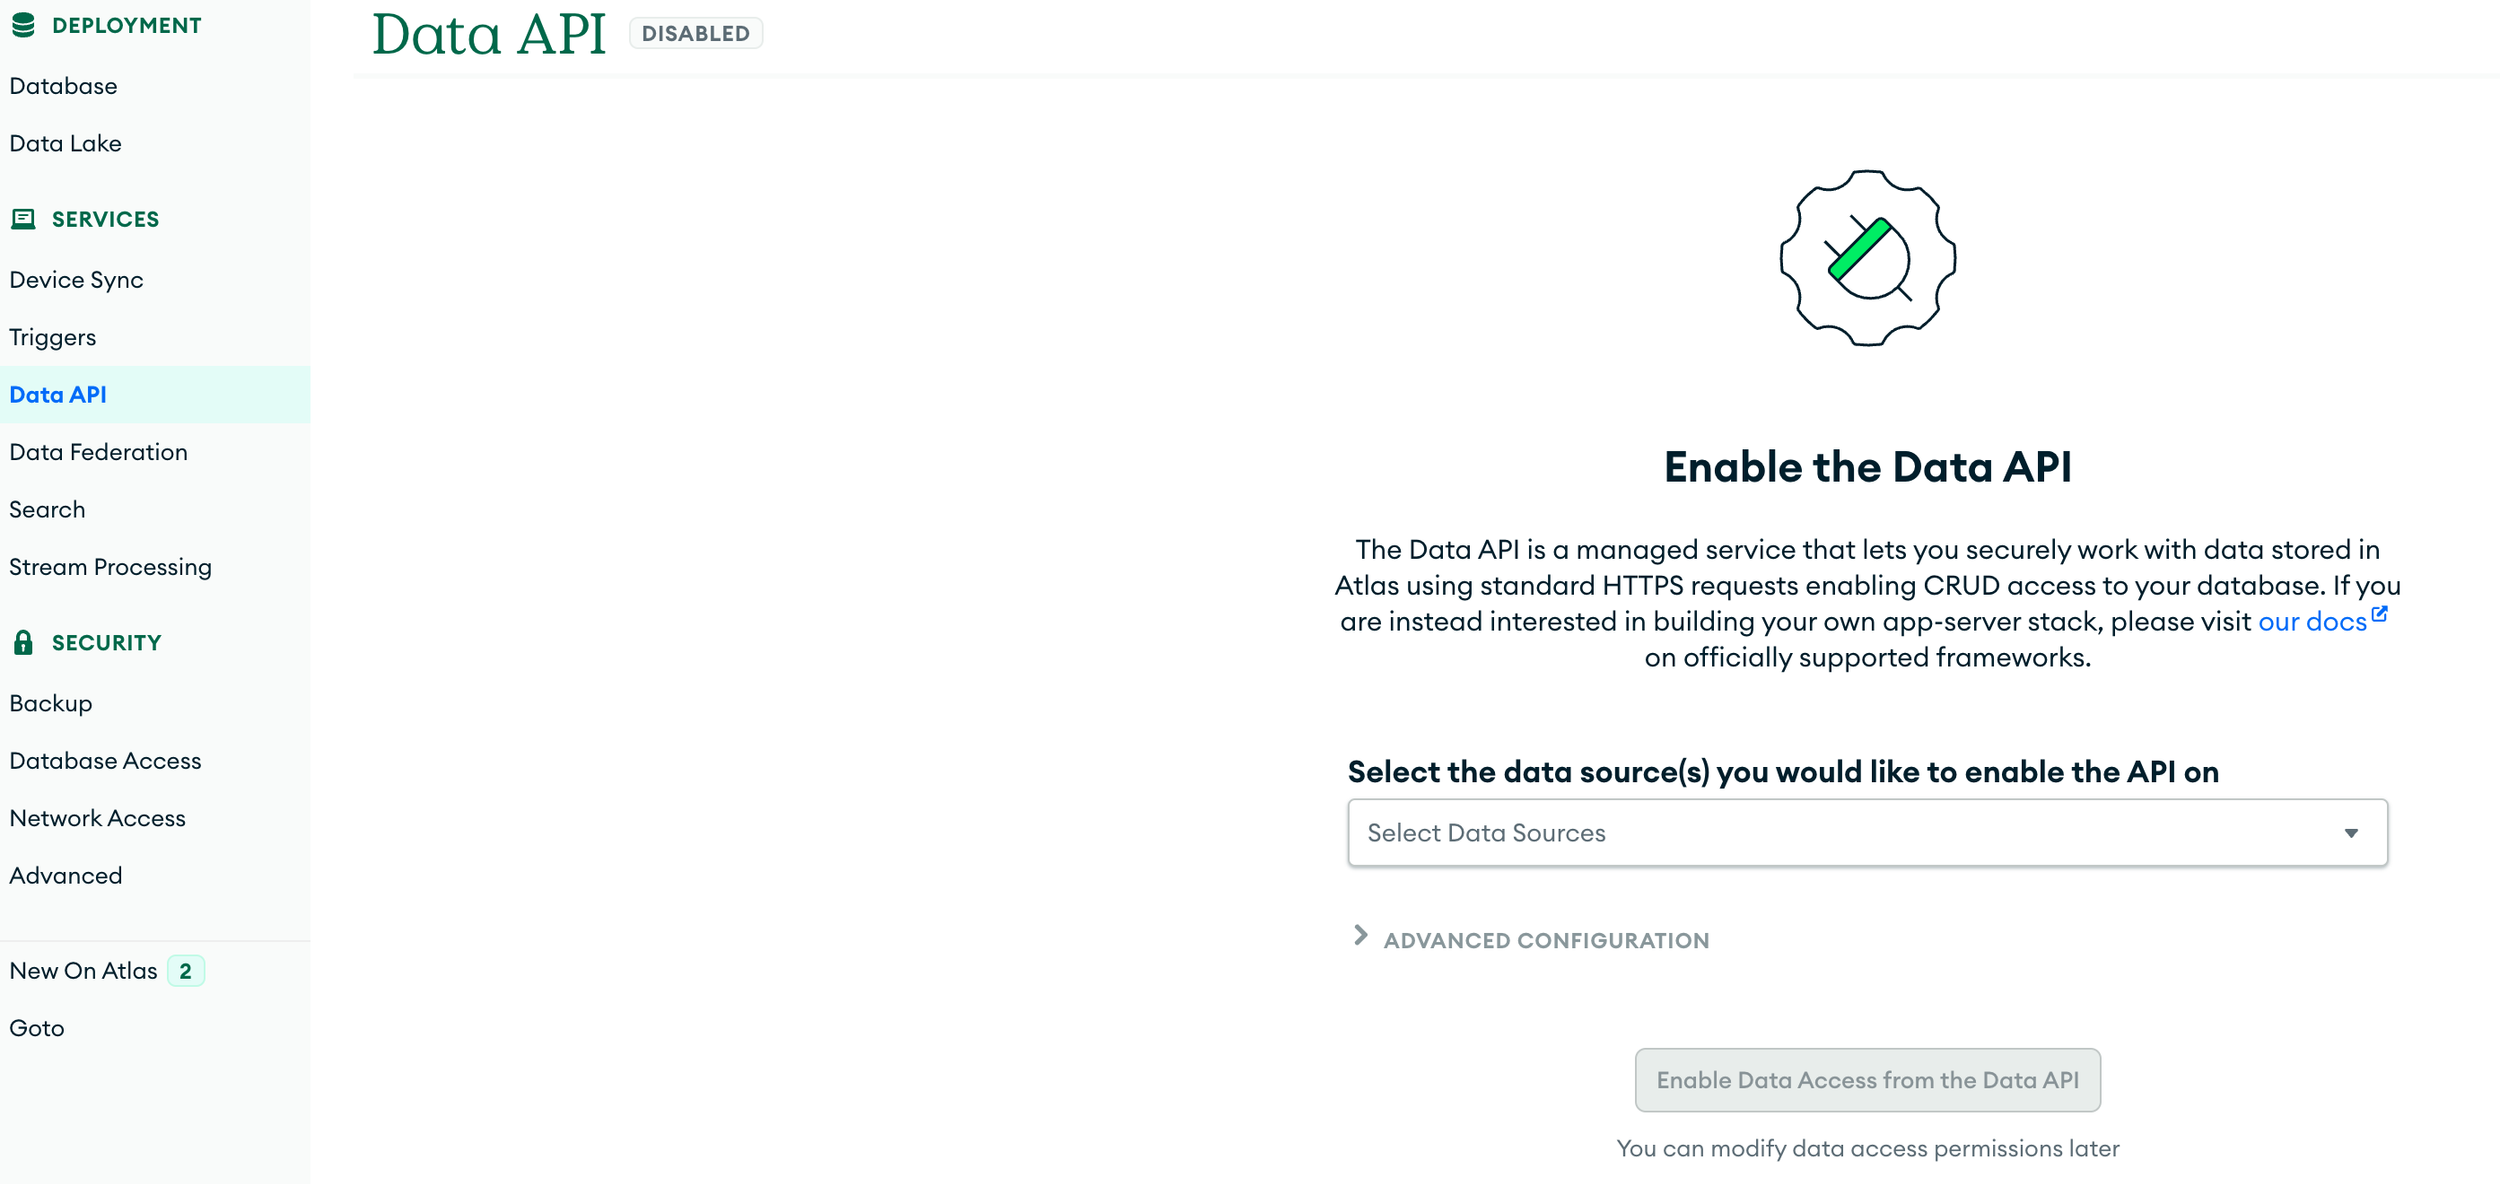
- Step through and generate an API Key, you will need to save the API key along with the URL they give you so you can access the cluster through an API call with the Raspberry Pi Pico W.
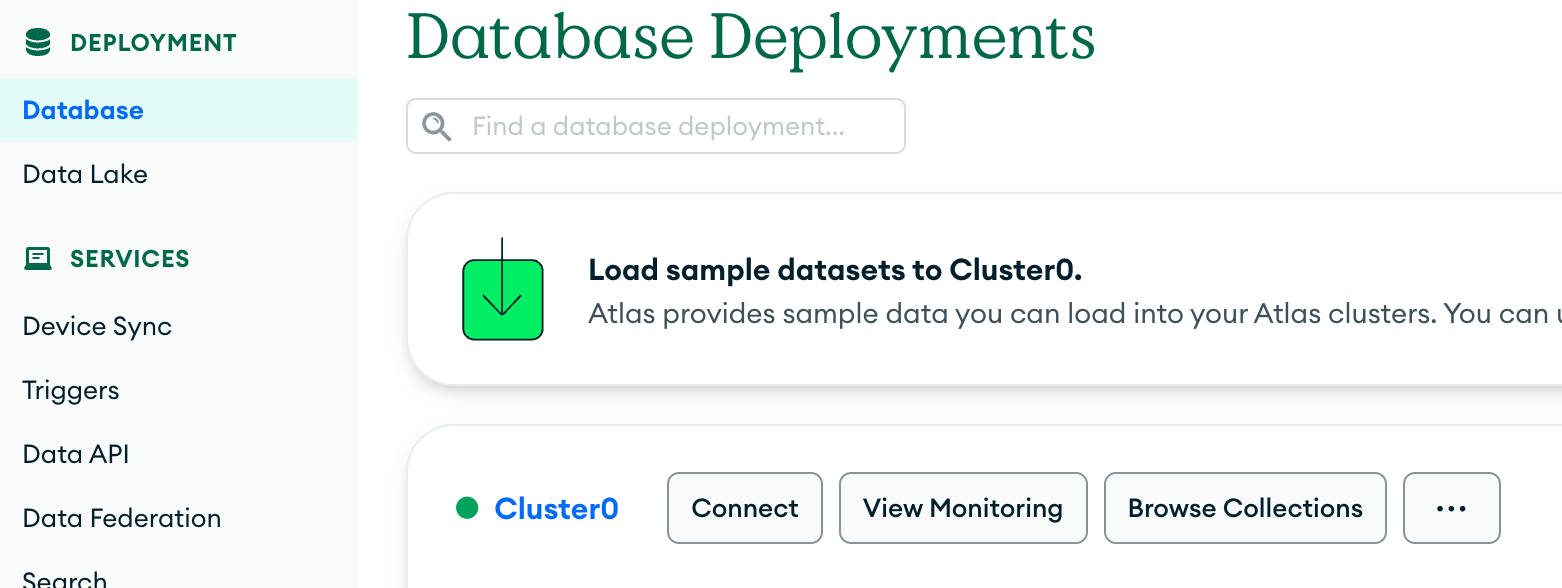
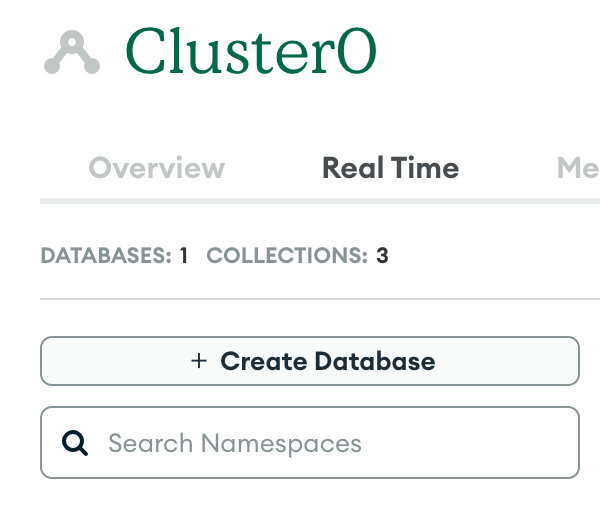
- Create a database and collection in the UI, this is where we will store our example document.
Step 2-) Code
The code on the Pico W is as follows
import machine
import urequests as requests
import network
import time

import constants


def connect_to_wifi(ssid, psk):
    wlan = network.WLAN(network.STA_IF)
    wlan.active(True)
    wlan.connect(ssid, psk)

    while not wlan.isconnected() and wlan.status() >= 0:
        print("Waiting to Connect")
        time.sleep(10)
    if not wlan.isconnected():
        raise Exception("Wifi not available")
    print("Connected to WiFi")


try:
    connect_to_wifi(constants.INTERNET_NAME, constants.INTERNET_PASSWORD)
    # Need to substitute from DATA API
    url = "<url>/action/insertOne"
    headers = { "api-key": "<api key>" }

    documentToAdd = {"device": "MyPico", "readings": [77, 80, 40, 60, 70, 80, 10]}

    insertPayload = {
        "dataSource": "Cluster0",
        "database": "WeatherData2",
        "collection": "BME2802",
        "document": documentToAdd,
    }

    print("sending...")

    response = requests.post(url, headers=headers, json=insertPayload)

    print("Response: (" + str(response.status_code) + "), msg = " + str(response.text))

    if response.status_code == 201:
        print("Added Successfully")
    else:
        print("Error")

    # Always close response objects so we don't leak memory
    response.close()

except Exception as e:
    print(e)
- Insert your internet name, internet password, MongoDB Data API URL, and API Key accordingly in the code.
- In the payload you need to add your cluster, database, and collection names.
- We are simply connecting to WiFi and sending a payload to their API with extension /action/insertOne, which will allow us to insert one document. We are using some dummy data for this example!
If you set everything up correctly you should be able to see a document in your collection, congrats. If you had issues please watch on Youtube above for more details. In the next tutorial, we will be working with actual sensor data in a time series and doing other more complex data queries with their API, so stay tuned to the channel by subscribing!
Conclusion
Databases are essential in a majority of applications we use. Thankfully MongoDB with their Data API makes it incredibly easy to get started just with the use of WiFi. Hope you enjoyed this video and content. Let me know if you have any questions.