Before starting, do not forget to watch Part 1 for more context.
We demonstrated in Part 1 how to draw free-form on a canvas using react-native-svg. This was useful for allowing the user to draw freely in your React native applications, which could have many use cases. We extend that material in this tutorial by showing how to add an adjustable shape on the screen. In this case, we use a four-cornered shape (polygon) that the user can adjust to their liking. In reality, this can extend to any type of shape you like with some adjusted code. This code and explanation should give you the means to do that easily!
Before reading the remainder, be sure to subscribe and support the channel if you have not!
Subscribe:
Support:
https://www.buymeacoffee.com/mmshilleh
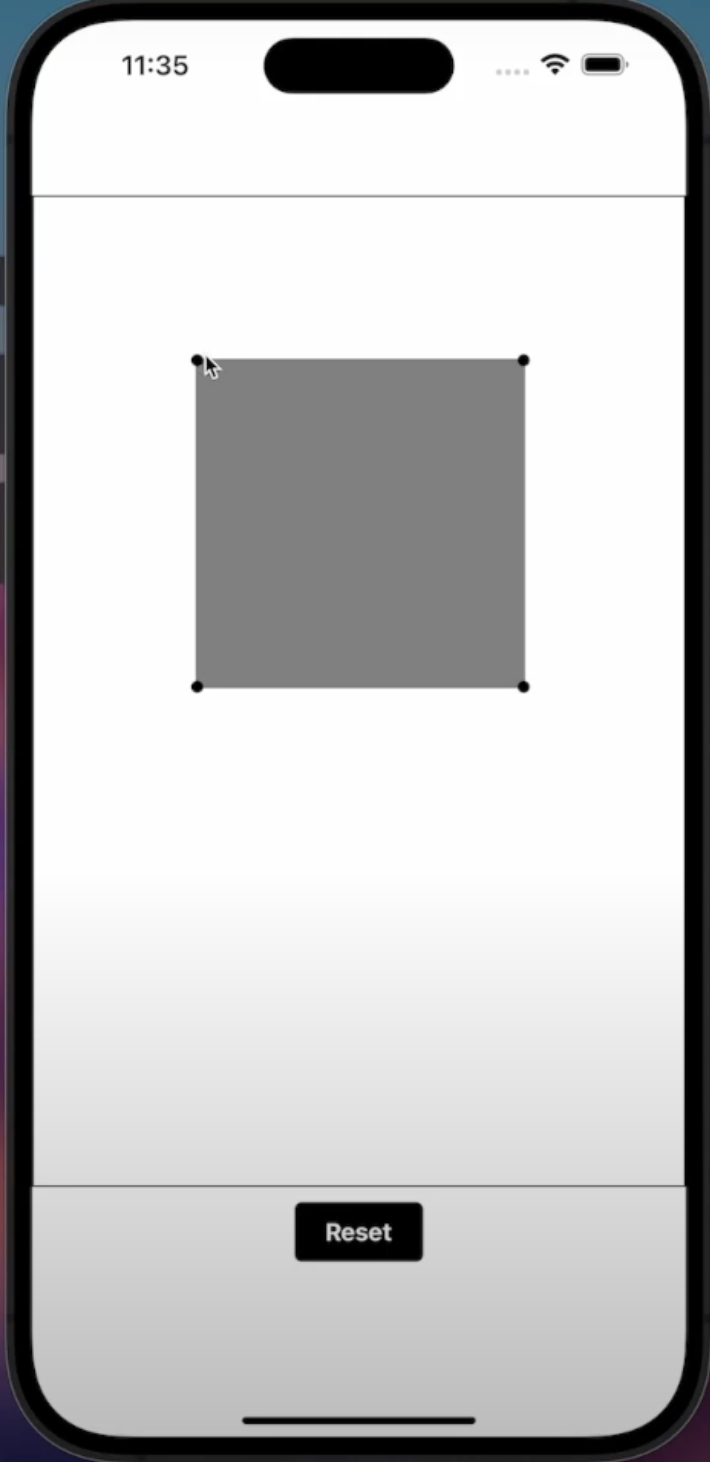
The example will look as follows when you finish, with the four corners being adjustable with user touch:
Code
import React, { useState } from 'react';
import { View, StyleSheet, Dimensions, TouchableOpacity, Text } from 'react-native';
import { Svg, Path, Circle } from 'react-native-svg';

const { height, width } = Dimensions.get('window');

export default () => {
  const windowWidth = Dimensions.get('window').width;
  const [polygonVertices, setPolygonVertices] = useState([
    { x: windowWidth / 4, y: windowWidth / 4 },
    { x: windowWidth * 3 / 4, y: windowWidth / 4 },
    { x: windowWidth * 3 / 4, y: windowWidth * 3 / 4 },
    { x: windowWidth / 4, y: windowWidth * 3 / 4 },
  ]);
  const [draggedVertexIndex, setDraggedVertexIndex] = useState(null);

  const polygonPath = polygonVertices
    .map((vertex) => `${vertex.x},${vertex.y}`)
    .join(' ');

  const getActiveVertex = (x, y) => {
    const threshold = 20;
    for (let i = 0; i < polygonVertices.length; i++) {
      const vertex = polygonVertices[i];
      const distance = Math.sqrt((x - vertex.x) ** 2 + (y - vertex.y) ** 2);
      if (distance <= threshold) {
        return i;
      }
    }
    return null;
  };

  const onTouchEndPolygon = () => {
    setDraggedVertexIndex(null);
  };

  const onTouchMovePolygon = (event) => {
    const locationX = event.nativeEvent.locationX;
    const locationY = event.nativeEvent.locationY;
    let activeVertex;
    if (draggedVertexIndex === null) {
      activeVertex = getActiveVertex(locationX, locationY);
      setDraggedVertexIndex(activeVertex);
    }
    const updatedVertices = [...polygonVertices];
    updatedVertices[draggedVertexIndex] = {
      x: event.nativeEvent.locationX,
      y: event.nativeEvent.locationY,
    };
    setPolygonVertices(updatedVertices);
  };

  const handleReset = () => { setPolygonVertices([
    { x: windowWidth / 4, y: windowWidth / 4 },
    { x: windowWidth * 3 / 4, y: windowWidth / 4 },
    { x: windowWidth * 3 / 4, y: windowWidth * 3 / 4 },
    { x: windowWidth / 4, y: windowWidth * 3 / 4 },
  ])}

  return (
    <View style={styles.container}>
      <View style={styles.svgContainer} onTouchMove={onTouchMovePolygon} onTouchEnd={onTouchEndPolygon}>
        <Svg>
          <Path d={`M${polygonPath}Z`} fill="grey" stroke="grey" strokeWidth={2} />
          {polygonVertices.map((vertex, index) => (
            <Circle
              key={index}
              cx={vertex.x}
              cy={vertex.y}
              r={4}
              fill="black"
            />
          ))}
        </Svg>
      </View>
      <TouchableOpacity style={styles.clearButton} onPress={handleReset}>
        <Text style={styles.clearButtonText}>Reset</Text>
      </TouchableOpacity>
    </View>
  );
};

const styles = StyleSheet.create({
  container: {
    flex: 1,
    justifyContent: 'center',
    alignItems: 'center',
  },
  svgContainer: {
    height: height * 0.7,
    width,
    borderColor: 'black',
    backgroundColor: 'white',
    borderWidth: 1,
  },
  clearButton: {
    marginTop: 10,
    backgroundColor: 'black',
    paddingVertical: 10,
    paddingHorizontal: 20,
    borderRadius: 5,
  },
  clearButtonText: {
    color: 'white',
    fontSize: 16,
    fontWeight: 'bold',
  },
});
- We use SVG to render a shape filled in with the connection of four vertices.
- When the user selects a point on the screen we need to determine which vertex to move by using the getActiveVertex function. If the distance is not within a certain threshold we do not select any point.
- We continue to move this selected vertex upon the touch of the screen
- Otherwise we release the selection of the vertex
Conclusion
We can see with SVG it is straightforward to render points on the screen thanks to their convenient coordinate system! Pretty neat stuff. More details in the Youtube video if I went over this too quickly here. Do not forget to subscribe, thanks!