In the dynamic world of mobile app development, user engagement and retention reign supreme. In a landscape where attention spans are fleeting, developers are constantly seeking innovative ways to captivate users and deliver memorable experiences. This is where Lottie animations step into the limelight, offering a gateway to seamless, eye-catching animations that breathe life into your React Native applications.
Gone are the days of static interfaces that fail to enthrall users. Lottie, developed by Airbnb, has emerged as a game-changer by allowing developers to effortlessly integrate intricate animations into their apps without sacrificing performance or design integrity. Whether you're a seasoned developer or just beginning your journey into the world of React Native, understanding how to harness the power of Lottie can elevate your projects to new heights.
In this blog post, we'll dive into quickly getting started with Lottie animations in a React Native Expo App.
Before we get started, do not forget to show your support!
Subscribe:
Support:
https://www.buymeacoffee.com/mmshilleh
Step 1-) Install the Package
npm i lottie-react-native
Step 2-) Create a Lottie Files Account
- Create an account for free https://lottiefiles.com/
- Download the following animation as a json file https://lottiefiles.com/animations/done-BezVd9SE1f
- Place the JSON in the assets folder of your React Native application
Step 3-) Run the following Code
import React, { useState } from 'react';
import { View, TextInput, Button, StyleSheet, Text } from 'react-native';
import LottieView from 'lottie-react-native';
const FormScreen = () => {
const [submitted, setSubmitted] = useState(false);
const handleSubmit = () => {
setSubmitted(true);
};
return (
<View style={styles.container}>
{!submitted ? (
<View style={styles.formContainer}>
<TextInput style={styles.input} placeholder="Name" />
<TextInput style={styles.input} placeholder="Email" />
<Button title="Submit" onPress={handleSubmit} />
</View>
) : (
<View style={{alignItems: 'center'}}>
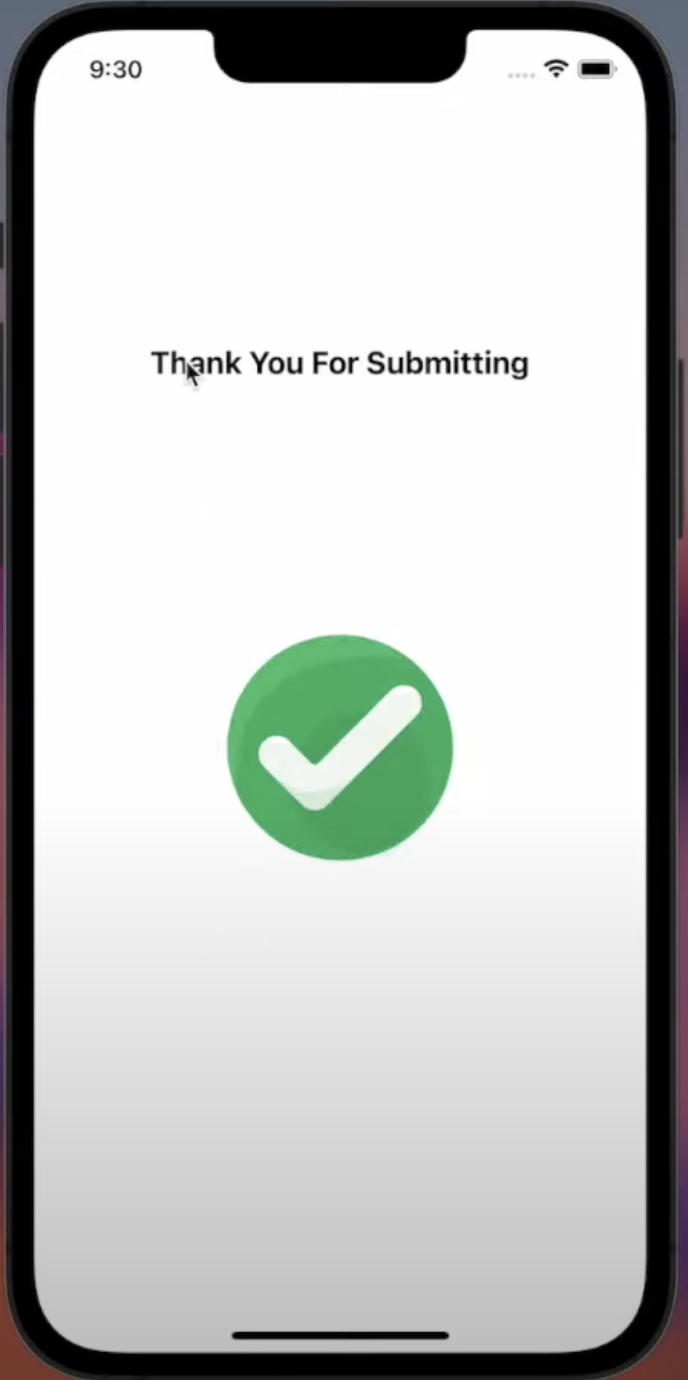
<Text style={{top: 200, fontSize: 20, fontWeight: 'bold'}}>Thank You For Submitting</Text>
<LottieView
source={require('./assets/animation.json')}
autoPlay
loop={false}
style={{flexGrow: 1, width: 400}}
/>
</View>
)}
</View>
);
};
const styles = StyleSheet.create({
container: {
flex: 1,
justifyContent: 'center',
alignItems: 'center',
},
formContainer: {
width: '80%',
},
input: {
height: 40,
borderColor: 'gray',
borderWidth: 1,
marginBottom: 10,
padding: 8,
},
});
export default FormScreen;
In reality, you can download any JSON file you want and style it as you like. This is Lottie animations in their simplest form. There are a lot of features in Lottie files but some of them are unfortunately premium options. Many of the use cases are covered by the free version so hopefully, it covers your use cases!
Conclusion
Hope you were able to get it to work in your app. For more details watch the video on Youtube and do not forget to subscribe. Let me know if you have any questions.